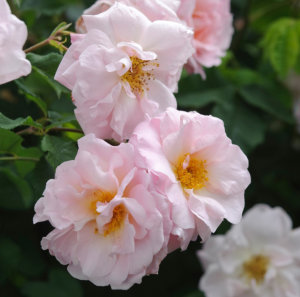
Rose bushes have edible flowers, from the petals to the fruit, called hips. Wild hedge roses best rose hips list:
Category: Recipes
Making Your Own Cider
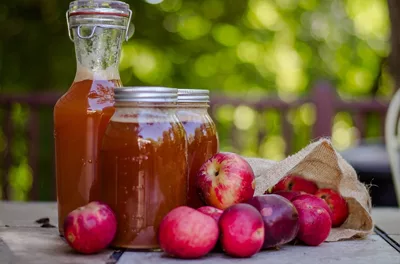
Can I make cider from eating and cooking apples? Yes, all apples make cider, but the flavours from cider apples are better: most home cider brews are a mix of several varieties, the more, the merrier. How to Make Cider Here are two excellent videos on making your own cider at home. MIT has a… Continue reading Making Your Own Cider
The Best Tomato & Mascarpone Risotto Recipe: Creamy, Savoury Comfort Food
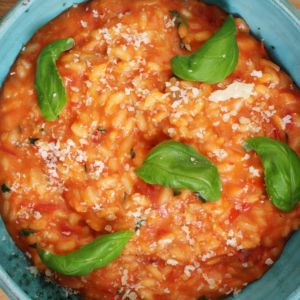
For a comforting dish that’s bursting with rich, creamy flavours, this Tomato & Mascarpone Risotto is exactly what you need. Ingredients: Method: Prepare the ingredients:Begin by heating your stock in a saucepan over low heat to keep it warm. In a large pan or wide skillet, heat the olive oil over medium heat. Add the… Continue reading The Best Tomato & Mascarpone Risotto Recipe: Creamy, Savoury Comfort Food
Classic Navarin of Lamb Recipe: A French Comfort Dish
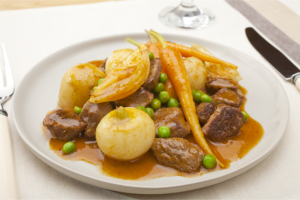
Navarin of lamb is a classic French stew, bursting with hearty flavours and rustic charm. Known for its tender pieces of lamb and a medley of fresh vegetables simmered in a rich, savoury sauce, this dish is a perfect marriage of simplicity and sophistication. It’s a meal that not only satisfies the palate but also… Continue reading Classic Navarin of Lamb Recipe: A French Comfort Dish
Cooking with Cider this Christmas?
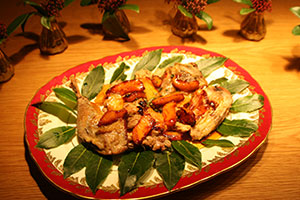
How about pheasant with caramelised apple and cider sauce! Ingredients (to serve 2-4) Method Pheasant and cider sauce Caramelised apples Once the sauce mixture is reduced, pour over and serve! Top tip This is a lovely, tasty wintery dish using well hung pheasant, but if you’re not the gamey type, it works equally well… Continue reading Cooking with Cider this Christmas?
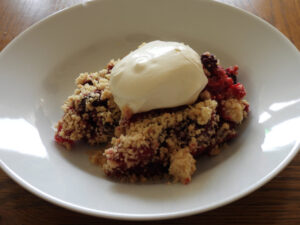
Foraged Blackberry & Apple Crumble
Do you have a freezer full of blackberries? If not, then ignore the blackberry & enjoy your apple crumble! This time of year, mid-November, is hefty with apples. Down here in sunny Somerset, the late blackberries are only recently all gone from the bushes. If you have helpful kids around, chances are you have bags… Continue reading Foraged Blackberry & Apple Crumble
Rose Hips are Pretty & Good to Eat
Rose hips are mostly an ornamental second display from Autumn into Winter, but all rose hips are edible if you want to go through the trouble of preparing them And almost all roses will make hips if they get pollinated and you allow them to develop, which is not usually the case with a typical… Continue reading Rose Hips are Pretty & Good to Eat
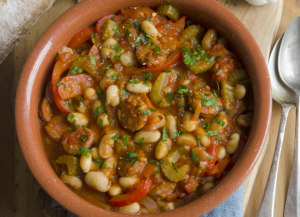
Smoky Sausage Stew Recipe
Looking for complete satisfaction of all bellies in the immediate area? You sure done come to the right place this time You can do this stew with a vegan sausage if you like, you can do this with a Cumberland or a sneaky sausage: it’s the size of the sausage in the stew that counts.… Continue reading Smoky Sausage Stew Recipe
Fine Dining al Fresco: Shrubbery for Two
The other day we mentioned Cornwall’s Million Pound edible hedge project, and, we assume in response, the RHS updated their list of edible flowers, along with a Country Living article adding a few more on top. We know that most garden owners are not breakfasting in the bushes, brunching off branches, or dining on their… Continue reading Fine Dining al Fresco: Shrubbery for Two
Walnut and Banana Bread Recipe
There’s something incredibly rewarding about harvesting ingredients straight from your own bit of Britain! If you’re lucky enough to have walnut trees, the experience of picking fresh walnuts, cracking them open, and incorporating them into your cooking adds a unique, personal touch to your meals. One of the best ways to use these homegrown gems… Continue reading Walnut and Banana Bread Recipe
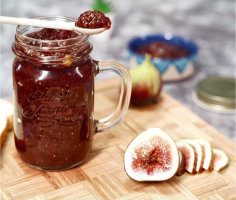
Homemade Fig Jam Recipe
With Homegrown Figs There’s nothing quite as jammy as the satisfaction of your own fig jam crafted from fig you grew yourself in a British Summer. Serve without elaborating, and let your dining companion ask you where this sweet, honey-like jam is from. Only then tell them that you are part of an elite club… Continue reading Homemade Fig Jam Recipe
Hedgerow Jelly Recipe
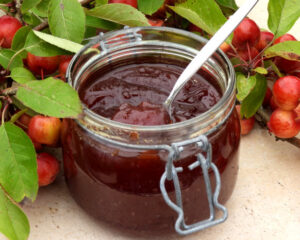
Make a unique Jelly from Country Hedges & Wild Plants This recipe uses fruit commonly found in mixed hedges and wild plants (identify before eating them). Wild plums generally ripen around late summer, apples & crab apples generally ripen later, both can be found in quantity in time to mix with blackberries, and whatever else… Continue reading Hedgerow Jelly Recipe
Apple Muffins Recipe
There’s Nothing Quite Like Baking with Home-Grown Apples in your Apple Muffin Recipe. Their fresh, crisp flavour brings out the best in these delicious apple muffins. Whether you have an orchard in your garden or a single beloved tree, these muffins are a wonderful way to showcase your apples. For this recipe, we recommend using… Continue reading Apple Muffins Recipe
Raspberry Macarons Recipe
There’s nothing quite like the fresh, tangy flavour of home-grown raspberries, and what better way to enjoy them than in delicious raspberry macarons recipe? Growing your own raspberry plants is easy and rewarding. Pre-order bareroot raspberry plants now and have them delivered from November to March. With a little care, you’ll have a bountiful harvest… Continue reading Raspberry Macarons Recipe
Homemade Beef Burger Recipe
It’s barbecue season, and nothing beats homemade beef burgers cooked over charcoal to enjoy the smoky flavour. Follow these tips and don’t forget to pair your burgers with your favourite side dishes and beverages for a complete meal. Ingredients: Instructions:
Delicious Strawberry and Cream Choux Buns Recipe
Indulge in the delightful harmony of fresh strawberries and rich cream with our scrumptious Strawberry and Cream Choux Buns recipe. Bursting with flavour and elegance, these light and airy choux pastry buns are filled to perfection with velvety whipped cream and luscious slices of ripe strawberries. Whether you’re hosting a gathering or simply craving a… Continue reading Delicious Strawberry and Cream Choux Buns Recipe
Creamy Seafood Risotto Recipe (Frutti di Mare)
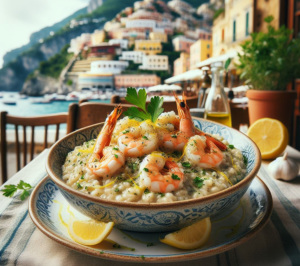
Indulge in the tantalizing flavours of the Mediterranean with our exquisite Risotto Frutti di Mare recipe. Bursting with the bounty of the sea, this classic Italian dish combines creamy Arborio rice with a delightful assortment of fresh seafood. Ingredients: Instructions:
Bruschetta with Parma Ham, Brie, Sun-Dried Tomatoes, and Fresh Basil or Rocket
A delectable and sophisticated appetiser that combines the rich flavours of high-quality ingredients to create a delightful culinary experience. This dish is a modern twist on the classic Italian parma ham bruschetta, infusing it with a fusion of flavours that will tantalise your taste buds. At its core, bruschetta consists of grilled or toasted bread… Continue reading Bruschetta with Parma Ham, Brie, Sun-Dried Tomatoes, and Fresh Basil or Rocket
Traditional English Easter Biscuits Recipe
Dive into the spirit of Easter with our delightful Easter Biscuits recipe (St George icing not included). These sweet treats, infused with a hint of spice and citrusy zest, make a delightful rustic addition to your festive table. Ingredients: Instructions: These biscuits are not only delicious but also a fun Easter activity for the family.… Continue reading Traditional English Easter Biscuits Recipe
Salmon en Croute with Spinach, Leeks, and Poppy Seeds
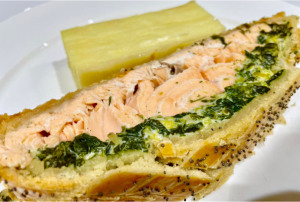
Indulge your taste buds in an exquisite culinary journey with this Spinach, Leek, and Poppy Seed-infused Salmon en Croute. This Salmon en Croute a visual masterpiece with a delicious celebration of textures and tastes: an unforgettable dining experience that effortlessly blends sophistication with simplicity. Ingredients:
Chicken Satay Skewers on Salad with Fresh Herbs
It’s time to bid farewell to winter soups and stews. Spring is in the air, so try out our chicken satay and salad recipe using fresh herbs. Heighten your dining experience with the vibrant colours and flavours of this dish, embracing the essence of spring on your plate. Ingredients: For Chicken Satay: For Salad: For… Continue reading Chicken Satay Skewers on Salad with Fresh Herbs
Cherry Crêpes Recipe
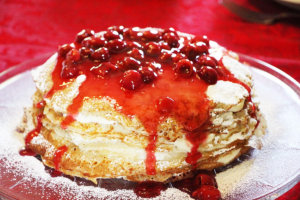
Try something different this Pancake Day Shrove Tuesday is on the morrow, Tuesday 13th February, And you can mix up the usual chocolate or lemon filled pancakes with our delightful Cherry Crêpes recipe. These thin, delicate French style pancakes topped with juicy cherry compote will awaken your senses and satisfy your sweet cravings. Even better,… Continue reading Cherry Crêpes Recipe
Herb-Infused Chicken Katsu Curry Recipe
A Flavourful Twist on a Japanese Classic Indulge in rich and aromatic British herbs in Japanese cuisine with our take on the beloved Chicken Katsu Curry. This recipe combines the crispy goodness of breaded chicken cutlets with a fragrant and herb-infused curry sauce. Behold the delectable fusion of textures and flavours in these succulent chicken… Continue reading Herb-Infused Chicken Katsu Curry Recipe
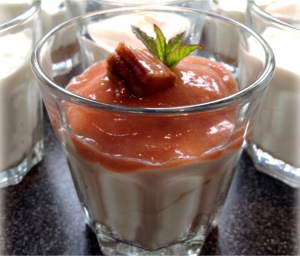
Rhubarb Fool Recipe
Early-sprouting rhubarb will soon be ready for harvest. Whether it’s your own produce or from your friendly local greengrocer, give this rhubarb fool recipe a try – a delightful pick-me-up for the promises of spring around the corner! Ingredients: Method: 2. Whip the Cream: 3. Combine Rhubarb Compote and Whipped Cream: 4. Chill: 5. Serve… Continue reading Rhubarb Fool Recipe
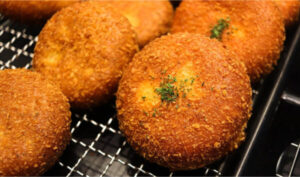
Cheese and herb aigrettes
These miniature savoury doughnuts make a lovely canapé served with a glass of fizz, perhaps at a coronation celebration, or indeed if you want to mark National Doughnut Week which also falls this month (20-28th May). They’re a fun way of using fresh herbs in your cooking too. If you have one of those new-fangled… Continue reading Cheese and herb aigrettes
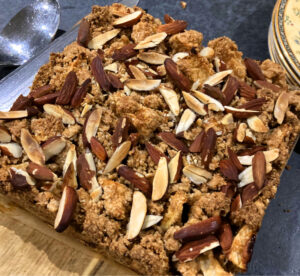
Somerset Apple Cake with optional streusel twist
The streusel topping elevates a traditional tea time delicacy to a luxurious dessert. The apple store is usually looking a little depleted by this time of year, but if you still have a few Bramley apples knocking about this recipe is a lovely way of using them up. (If you don’t have Bramley’s any other… Continue reading Somerset Apple Cake with optional streusel twist
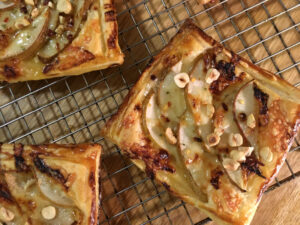
Comté & pear tartlets
February’s pickings from the vegetable patch can be sparse, but if you’re lucky you’ll have apples and pears from autumn’s harvest to use up. There might also be some winter salad leaves such as mizuna, lamb’s lettuce or baby spinach. Tossed in a punchy mustardy dressing, they’re the ideal counterpoint to this crisp and indulgently… Continue reading Comté & pear tartlets
Herb-crusted lamb cutlets
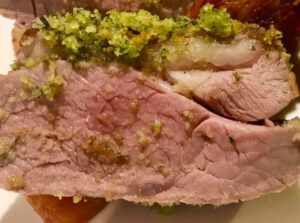
A lovely recipe for Easter Sunday lunch. We’ve taken to visiting our local butcher every Thursday (who incidentally we totally recommend as he does mail order – see The Thoroughly Wild Meat Company) and asking for his week’s recommendation for a treaty Sunday lunch. We have had some seriously delicious meals as a result, one… Continue reading Herb-crusted lamb cutlets
Dark Chocolate Truffle Torte Recipe
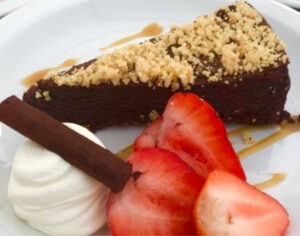
Decadent and delicious, a slice of this wonderfully luxurious, yet relatively cheap and easy-to-make dessert, is great for Valentine’s Day – and every other day of the year too! They say dark chocolate has several health benefits: it is highly nutritious, is a great antioxidant and can reduce heart disease. If so, then give us… Continue reading Dark Chocolate Truffle Torte Recipe
Ham Hock Terrine Recipe
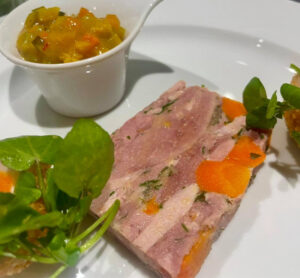
The shelves in the supermarkets seem to be full of ham this time of year, and especially when it’s discounted, as a family, we stock up on it throughout January. Our family eats a lot of ham throughout the winter months. It’s a great alternative than your ‘standard’ winter stew, it works well with bubble… Continue reading Ham Hock Terrine Recipe

