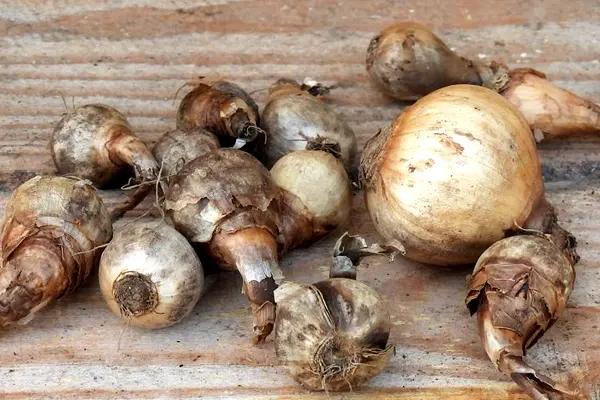
Traditionally, many flower bulbs, especially Tulips and Dahlia tubers, were lifted (dug up) every year and stored to encourage better flowering the following year, and to protect them from pests.
But that received wisdom is not really worth applying to all your bulbs - it depends what you are growing, and where.

Do All Bulbs Need to Be Lifted and Stored?
Digging up and replanting bulbs is a chore, so is it really necessary? Not always!
Many bulbs are bred to survive and naturalise in grass and borders. Examples include most alliums and daffodils, but even tulips have varieties that are recommended for naturalising like Negrita, Ballerina, Golden Apeldoorn and Spring Green (or save time and get our ready-made Naturalising Tulip Mix).
Fertilise your bulbs if you don't lift them
Rather than lifting them, you can give bulbs high potash, low nitrogen feed as they flower (nitrogen would just benefit the surrounding grass), then a final feed right as the leaves yellow and wilt.
The extra nutrients should provide the oomph for next year's flowers.
Let the leaves die back naturally
The other key is to leave their foliage intact for at least six weeks after flowering (ideally until it completely withers, but six weeks will do - in many cases, it will be withering by then anyway) so that their nutrients all get drawn down into the bulb, ready for next year.
Protect bulbs from digging animals
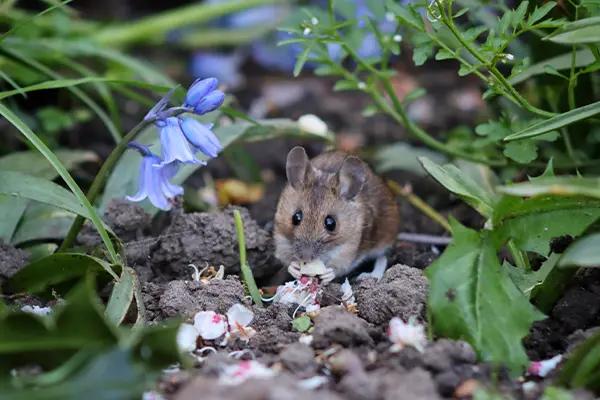
If you are blessed with wonderful forest creatures like badgers, squirrels and mice visiting your garden to eat all your precious bulbs (on a quiet day, you can hear them laughing all the way back to their den), cover the area with chicken wire to keep the worst of them out. The bulbs' stalks and leaves will grow through it.

Voles are another matter, and chicken wire won't do much. They hate the smell of Camphor Oil, but you need to reapply it a few times a year as the rain washes it away - maybe worth a try, but not a great solution in our opinion.
Which Bulbs Should You Lift and Store?
Tulips
Most Tulips (excluding the Naturalising Tulip Mix varieties) won't re-flower well unless you lift them, remove the baby bulbs (offsets), then store them and replant in October / November.
If you leave the offsets in the ground, they will only make lots of leaves and compete with their mother bulbs, resulting in a sparse flower display.
Other Bulbs
These are the common reasons for putting in the extra work of lifting and storing your garden bulbs after flowering, before re-planting them in Autumn.
If your bulbs:
- Grew in pots, and you want to use the pots for another planting over the summer.
- Have been growing in one spot or pot for several years and are overcrowded, producing plenty of leaves but fewer flowers.
- Are in danger of being eaten by wildlife.
- Are in a location that will be well irrigated during summer: most bulbs are designed to survive dry summers and may rot in wet soil (this does not apply to snowdrops and wild daffodils).
- Are boring you, and you want to change up the colour scheme!
How to Store Garden Bulbs
Preparation:
As mentioned above, feed your bulbs with a high potash fertiliser once while they are flowering, and again as the foliage begins to fade.
After the flowers fade (remember to deadhead them so they can't set seed - that will take a lot of energy away from the bulb), wait until leaves have gone yellow and wilted (typically at least 6 weeks after flowering).
If your bulbs are in a pot that you wish to reuse ASAP, you can speed things up by transferring the entire contents to a spare area of the garden right after flowering, and let the leaves die back naturally in the soil.

Dry conditions are the ideal time to lift your bulbs:
Dry soil is much easier to work with, so allow your pots of bulbs to dry out before emptying them, or wait for a dryish period if the bulbs are in the soil.
Getting your bulbs ready for storage:
1. Carefully loosen the soil around the bulbs and remove them using a fork.
2. Discard bulbs that look diseased, rotten or damaged.
3. If there are bulblets or offsets coming off the mother bulb, separate them. You can keep the biggest ones to replant, and do what you want with the small ones, which typically only make leaves in their first year.
Most people throw these tiddlers away, but you could grow them on to bulk up and flower in two or three years time.
4. Rub off flaky, dry brown tunic tissue and soil with your hands, and gently remove dead foliage to leave the bulb clean.
5. Put the naked bulbs onto a wire tray in a shady place with good airflow to dry out overnight.
6. Optional: use a soft brush to powder the bulbs with fungicide or sulphur to prevent mould. This is not really necessary if your storage conditions are ideal. Commercial growers who have to store millions of bulbs (like us) do it to ensure you receive a premium product, but at home it's probably not worth it.
7. Put the bulbs into nets, or a cardboard box with newspaper (not plastic) crumpled between the layers of bulbs.
8. If you are the organised type, label your containers with pencil or indelible ink.
9. Store your bulbs somewhere cool (but not freezing in winter), dry, and dark until Autumn.
It is worth checking the bulbs over the summer to remove any that have gone soft or started to rot.
Before re-planting, check them one last time, and then put a pinch of bulbstarter rootgrow at the bottom of their new planting holes.
